Two of my friends that I graduated from Interior Design with just had their first baby and when I saw pictures of the nusery I just had to share it! It turned out perfect! So here is Emily with all the details:
Before my little girl was born in October, I was super busy getting her nursery ready. We were moving into a new apartment, and I wanted to get some color on the wall(s) in her room before we filled the room with "stuff". Since we were renting and couldn't paint, I decided to use my favorite non-permanent wall-covering option: fabric. We headed to IKEA (a great source for fun and inexpensive fabric--especially ones that are heavier in weight) and settled on a solid pink linen-like fabric. I resisted the pink for a long time, but it was the best fabric option we had (unless we wanted to spend hundreds on the wall fabric alone), so I went with it. It started as just a solid wall, but then I decided on the
Penelope bedding from Pottery Barn Kids, and couldn't stop thinking birds (and birdhouses, and trees, etc.). I started seeing cute tree decals all over the place, and decided I wanted a tree on the wall. I searched and searched the world wide web, but wasn't totally in love with any of the trees to purchase out there, so I decided to make my own! Since I was getting quite comfortable with the "fabric on the wall" thing, I decided to make it out of white fabric and put it right on top of the pink background. I drew the tree in AutoCAD first (I am embarrassingly dependent on CAD) and printed a full-scale template to trace--which was quite the production as you can imagine. In hindsight, the template was totally unnecessary, because I ended up freehanding most of it once I started putting the pieces on the wall. Nonetheless, it was a good exercise to draw the entire thing before I started cutting out the pieces.

The tree helped break up the pink, but I still felt like I needed some green on the other wall to calm it down some more (and to bring in the "green" part of the "pink and green" color scheme). I found a great patterned fabric (at JoAnn's) and "framed" the mirror and picture frames (since this picture was taken I have put photos of my baby's hands and feet in the frames) over the changing table/dresser with it.

I knew I had to have some birdhouses
somewhere in the room, because they fit the theme all too perfectly. I considered a lot of options, but ultimately decided to make some simple paper birdhouses and hang them in frames over the crib. It was a super easy project and cost next to nothing to make. I purchased three
Sondrum frames from IKEA, made three birdhouses out of scrapbook paper, and mounted each on some extra green fabric from the wall above the changing table. I then hung each frame from the tree with green ribbon--pretty simple.

One of my favorite finds in the nursery was the bird light on the bookshelf. We knew we needed a nightlight, and I was super excited when I found this cute bird on clearance at PB Kids. Its actually supposed to be hung on the wall, but we were pretty much out of wall space already, and found that it was way too bright out in the open anyway. It was still pretty bright nestled in the shelf, so I plugged it in to a dimmer switch/extension cord (found at Home Depot), and now it serves as the perfect (and dim) nightlight.

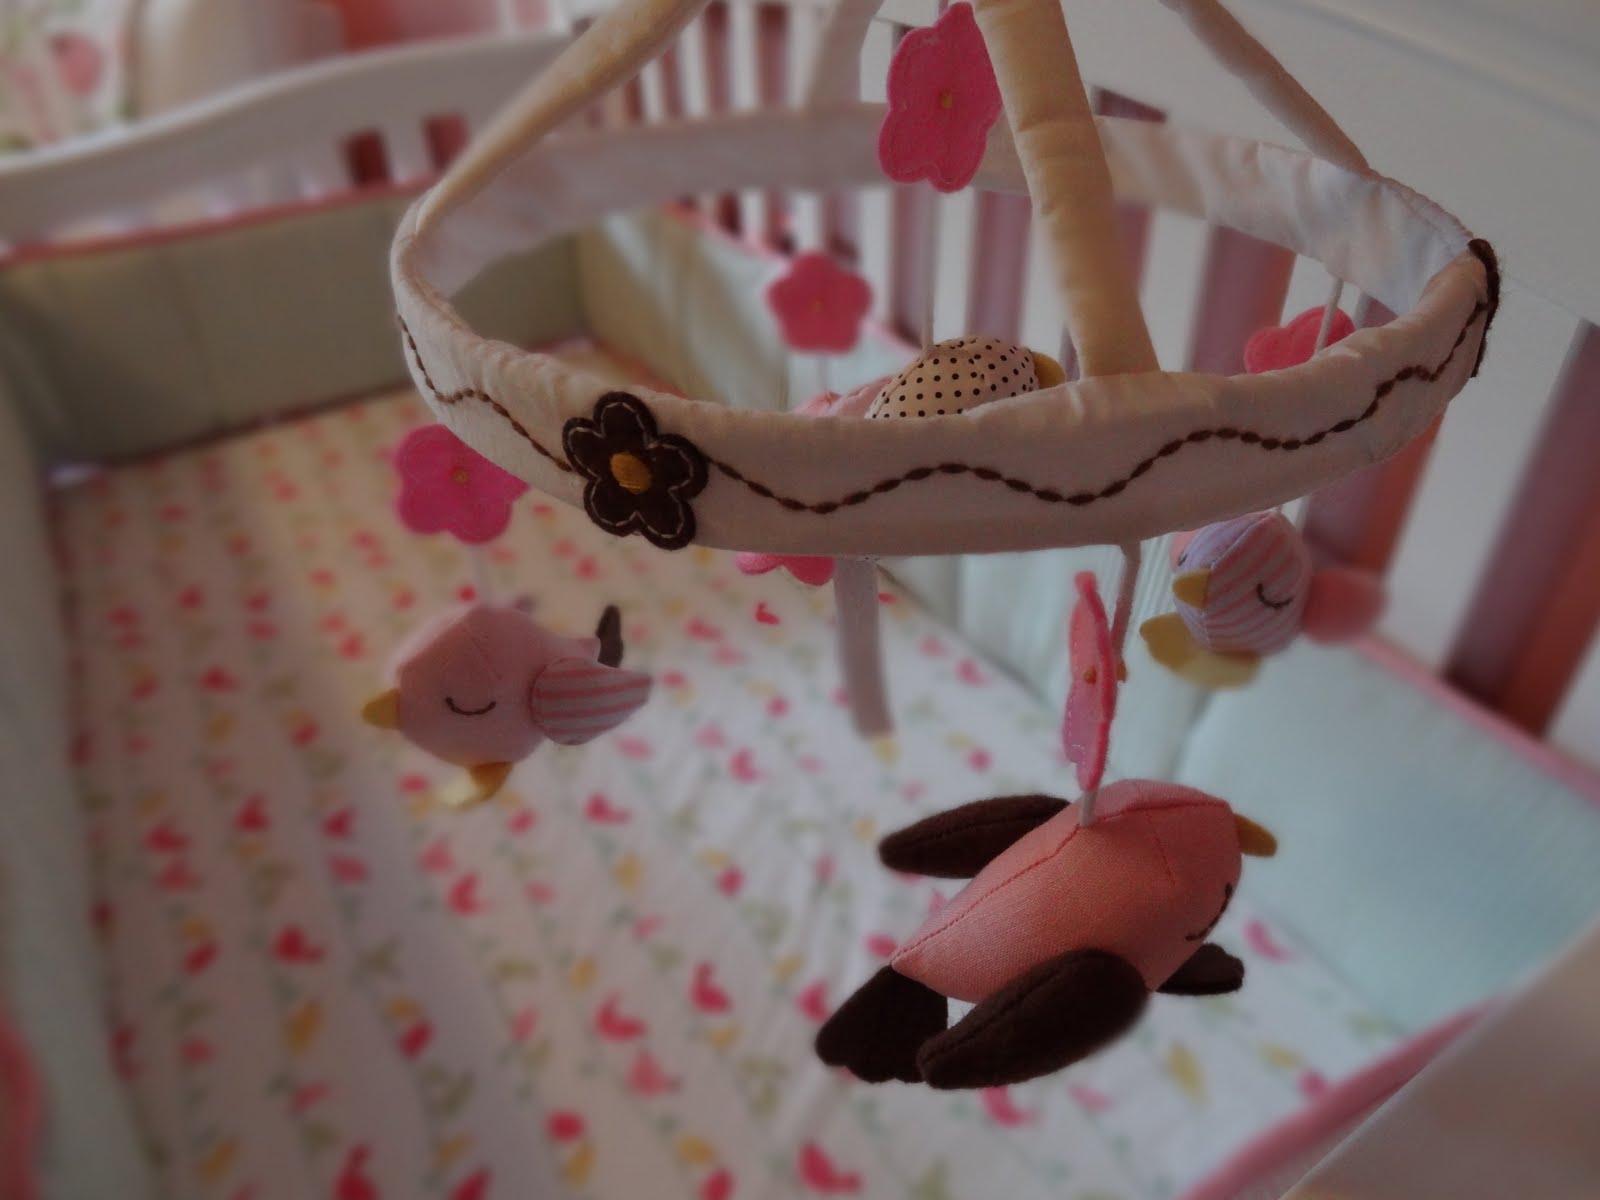
Here are some close up shots of the bedding, mobile, and birdhouses:


And here are the specifics on the main items in the room:
-Crib:
Baby Cache Essential Curved Lifetime Crib (Babies R Us)
-Mobile:
Penelope Bird Mobile (Pottery Barn Kids)
-Glider:
PB Kids Comfort Grand Swivel Glider (Pottery Barn Kids)
-Side Table:
Hemnes Nightstand (IKEA)
-Lamp:
White Resin Table Lamp (Target.com)
-Curtains: Simply Shabby Chic Candy Stripe Window Panel (Target.com--no longer available)
-Bookshelf:
Hemnes Bookcase (IKEA)
-Dresser:
Hemnes 8-Drawer Dresser (IKEA)
-Mirror:
Ava Mirror (Pottery Barn Kids)
-Oval Frames:
Oval Gallery Frames (Pottery Barn Kids)
I'm so happy with how everything turned out. It's super girly, which wasn't the original intention, but there's really no better time to take advantage of all things girly than now. Might as well embrace it, right? Now that we've been using the room for several months, I can safely say that it is my favorite room in the house.
------------------------------------------------------------------------------------------------------------
Here's my attempt at a quick DIY "tutorial" for putting fabric on the wall. Covering a wall with fabric is really pretty simple, but not necessarily easy. I made several mistakes at first, but each time I've done it since has been easier. I'll do my best to help you avoid the mistakes I made when I first tried this. I'm sorry I don't have step-by-step photos of the process, but hopefully my verbal descriptions will be enough.
What you will need:
-Fabric (something about the weight of upholstery fabric is best--if you do a regular cotton, you will run into bubbling problems)
-Liquid Starch (Sometimes this is hard to find, but I've been able to find a brand called Sta-Flo at Wal-Mart--it comes in a 2 qt. blue container)
-Paint Roller(s)
-Paint Brush
-Bucket or Paint Tray (to pour starch in)
-Thumbtacks/pushpins (to anchor fabric in place before you starch it)
-X-Acto Knife (to trim edges after fabric is dry)
Step 1: I usually pin the fabric to the wall with thumbtacks before I get it wet. This helps me to get the fabric exactly where I want it, and lined up if it is a pattern that needs to be lined up. This step was especially important when I was doing the tree branches--they were pinned every 4" or so. If you're doing fabric from floor to ceiling (or wall to wall), make sure you leave plenty of extra at the edges because the fabric will shrink as it gets wet and dries.
Step 2: Once the fabric is in place, pour the starch into your bucket/paint tray and start "painting" it over the top of your fabric with a paint roller. The starch will soak through the fabric and essentially glue it to the wall (you want the fabric to be saturated with starch). Make sure to get as much of the edges done as you can now--I like to use a regular paintbrush for the edges since its hard to get a roller into the corners. Do as much as you can without taking out any thumbtacks and then let it dry (with the thumbtacks still in place)--this will probably take overnight. If you can leave windows open in the room I recommend it (or run a fan), because all of that liquid starch will make the room humid (and a little stinky).
Step 3: Once the first coat is dry, remove the thumbtacks and starch over the areas that you missed. Also do a second coat of starch over any areas you think might need it.
***A note about the color of the fabric: when the fabric is wet with starch, it will be a lot darker than what it was originally, but it will dry much closer to the original color (usually a touch darker, though, so keep that in mind when selecting your fabric)
Step 4: After everything is dry, you can trim your edges. I usually just run my X-Acto knife down the corners of the walls and where the wall meets the ceiling/baseboard. You can use a ruler if you need to make sure the edges are square, or if you're doing a special shape (like the frame over the changing table), etc. Make sure you wait until the fabric is dry to do this step--wet fabric is much harder to cut than dry fabric--and starched fabric is more like paper than fabric, so it is super easy to cut.
Step 5: Once your edges are trimmed, you will probably need to go over the edges with starch again, just to make sure they are secure. Once that dries, you're done!
***Note: If you want to remove the fabric someday, just grab a corner and peel--it's that easy. You will need to wash the wall with warm water to remove any of the starch residue (though there probably won't be a ton). This process is great because its easy to remove, yet durable--I have had fabric on the wall for as long as two years and never had it start to peel away on its own.
Here are some other examples of "fabric on the wall" that I've done:
On this wall, I ran the fabric horizontally, so the seam would be less noticeable:
This fabric was tricky: not only was it a lightweight cotton (so it bubbled), but it was super hard to line up!
I put gray fabric on the wall behind the TV to give some contrast between the white walls and bookcase:

Phew! I think I've said all there is to say about putting fabric on the wall. Thanks to Amber for inviting me to post on her great design blog and for letting me share my little girl's nursery with you all! Please contact me,
emily.m.larsen@gmail.com, if you have any questions about any of it!
-Emily
Can you believe that is an apartment!! It looks amazing! A big thanks to Emily for sharing her great ideas.